
To set up your new robotic pool cleaner, start by carefully unboxing and inspecting all components for damage and completeness. Assemble the device on a stable surface, ensuring brushes and filters lock securely. Place the charging station in a dry, shaded area near the pool on a flat surface, and connect it to a grounded outlet. Before powering on, check water seals, then navigate the programming interface to set cleaning schedules. Following these steps guarantees smooth operation—continue for more tips and insights.
Key Takeaways
- Carefully unbox, inspect, and assemble all components on a stable surface, ensuring secure attachment and proper water chemistry.
- Place the charging station in a dry, sheltered area near the pool, connected to a grounded outlet with surge protection.
- Connect the device to power, verify waterproof seals, and check for damage before turning it on.
- Use the control interface or touchscreen to program cleaning cycles, select patterns, and schedule automatic operation.
- Regularly monitor filters, clean debris, and adjust settings based on pool size and debris load for optimal performance.

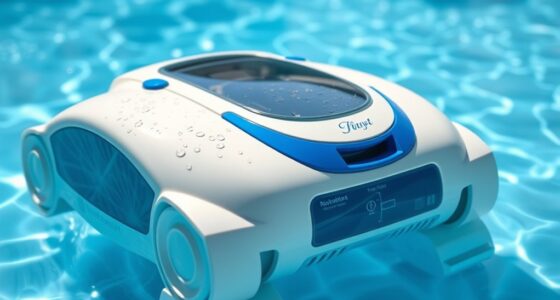
WYBOT C1 Robotic Pool Vacuum for Inground Pools, Cordless Above Ground Pool Cleaner 4-in-1 Wall & Waterline Cleaning Up to 1,615sq.ft, 152mins Runtime Smart Navigation & App Support
- Powerful Suction System: Up to 3038GPH ultra-strong suction
- Ultra-Fine Filtration: 185μm filtration for deep cleaning
- Dual PVC Brushes: High-grip brushes for thorough debris removal
As an affiliate, we earn on qualifying purchases.
As an affiliate, we earn on qualifying purchases.
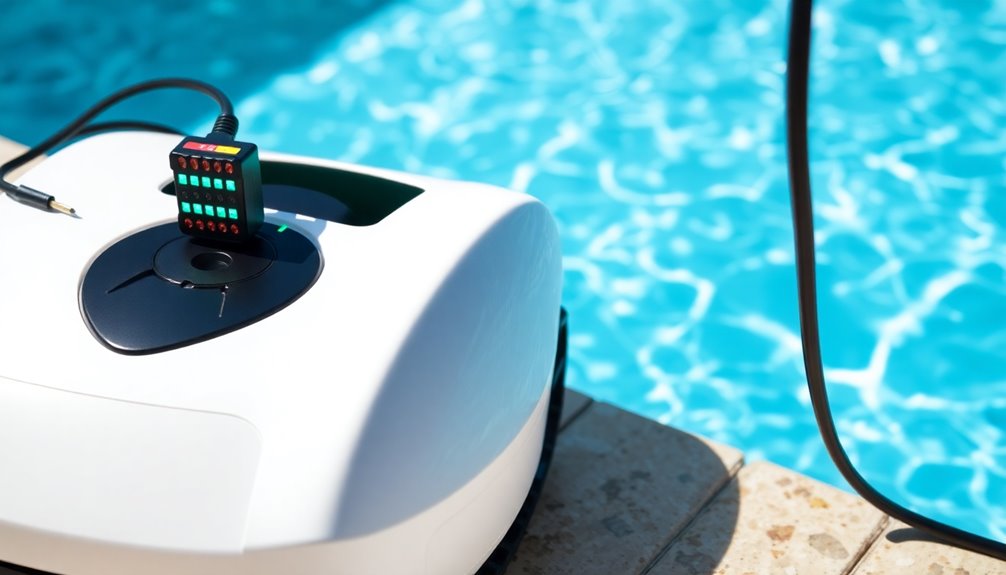
Unboxing and Inspecting Your Robotic Pool Cleaner
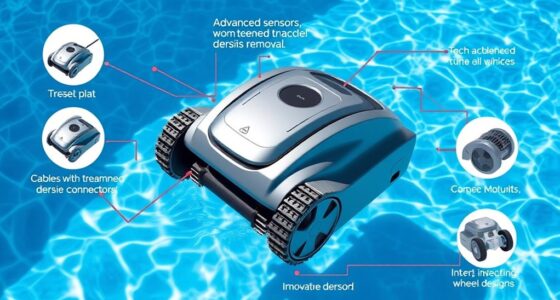
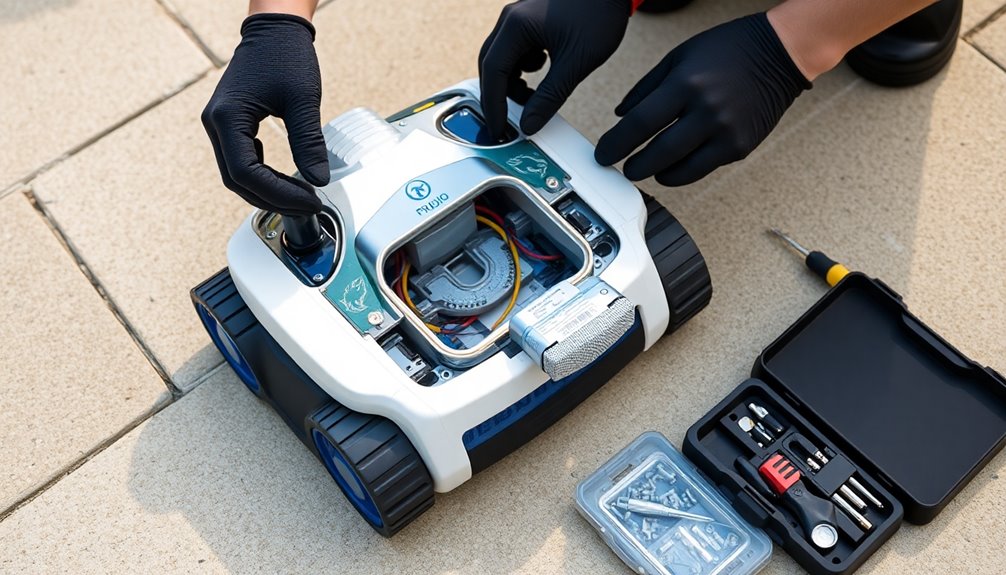
When you unbox your new robotic pool cleaner, take a moment to carefully inspect all the components. Ensure that the device, power supply, and cables are intact and free of damage. As you check the parts, consider your pool’s chemistry—proper water balance helps the cleaner perform at its best and prevents damage. Before handling the device, review safety precautions, such as keeping electrical connections dry and away from water when not in use. Make sure the power cord is secure and free of cuts or frays. Confirm that all accessories, like filters and brushes, are included and in good condition. Taking these initial steps helps ensure safe operation and sets the foundation for effective cleaning. Proper inspection now can prevent issues later and prolong your robot’s lifespan. Additionally, understanding your device’s filter maintenance requirements can help maintain optimal performance over time. Regularly checking for water leakage and sensor functionality can also contribute to a smoother cleaning experience. Moreover, familiarizing yourself with your robot’s programming options can optimize cleaning cycles and efficiency. For optimal results, reviewing the user manual can provide valuable tips on setup and troubleshooting. It’s also beneficial to verify that your robot’s battery charge is sufficient before starting a cleaning session to ensure uninterrupted operation.
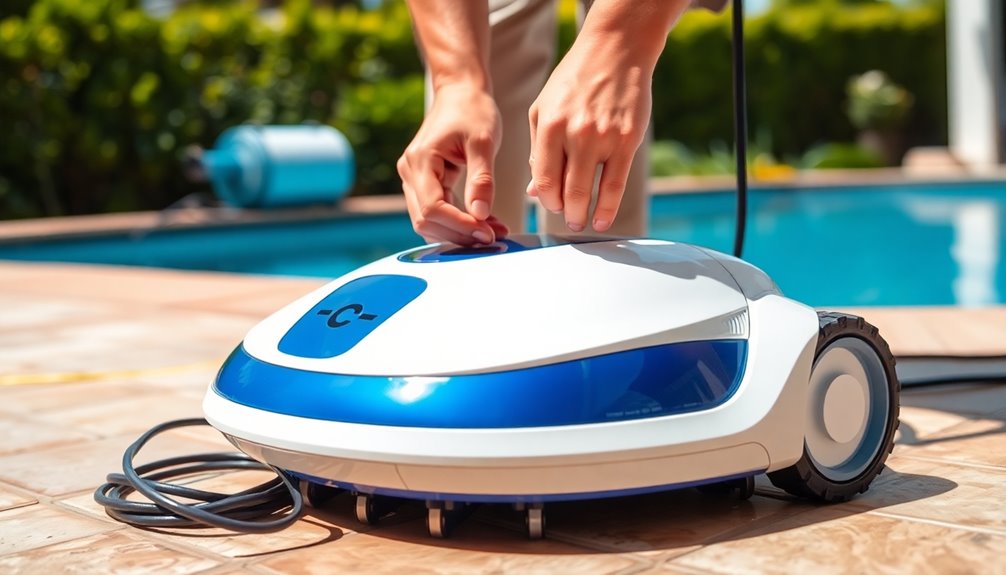
Assembling the Device and Attaching Components
Once you’ve inspected your pool cleaner, you can start assembling it by connecting the power components and securing the cleaning attachments. Make sure each part fits snugly to guarantee ideal performance. Proper assembly now will save you time and prevent issues during operation.
Unboxing and Inspection
As you open the box, carefully check each component to make certain nothing is damaged or missing. Inspect the robotic pool cleaner, power cable, brushes, and filters, ensuring they’re in good condition. Confirm all parts are present according to the manual. This initial step helps prevent issues during setup and maintains pool safety by preventing malfunction. While inspecting, take note of your pool’s water chemistry; a balanced water pH reduces wear on the device and guarantees ideal cleaning. Make sure the brushes and filters are clean and free of debris before attaching them. Proper inspection and assembly ensure your cleaner operates efficiently and safely, reducing the risk of damage or mishaps during use. Additionally, understanding the effectiveness of maintenance routines can help prolong the lifespan of your robotic cleaner. Regular cleaning and proper installation are crucial for optimal performance and safety. Moreover, paying attention to the contrast ratio can improve the visibility of your device’s indicator lights and control panel, facilitating easier operation and troubleshooting. This careful start sets the foundation for a consistent cleaning routine, ensuring your pool remains sparkling clean and your device functions at its best. Furthermore, incorporating powerful persuasive words into your routine can enhance user engagement and ensure consistent maintenance practices.
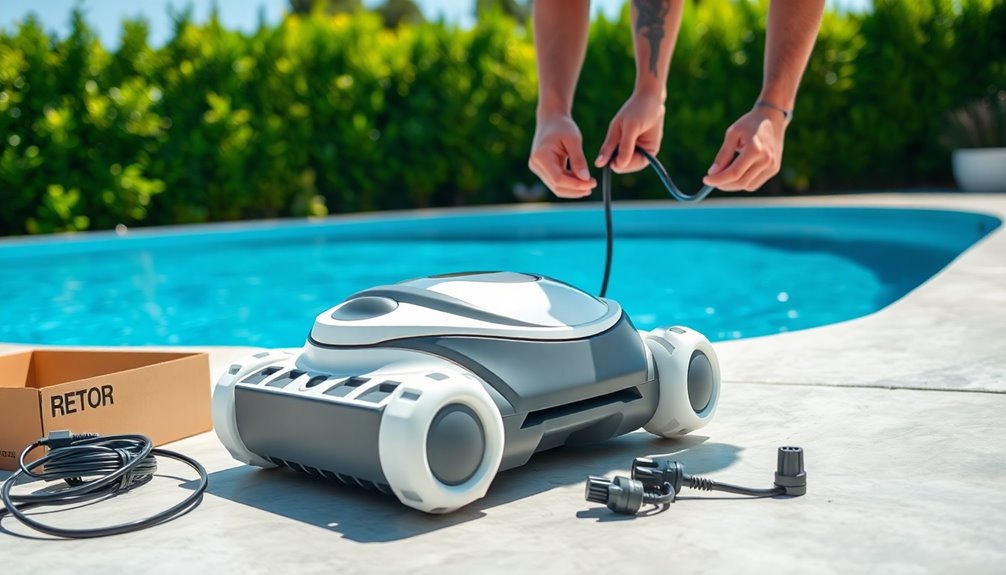
Connecting Power Components
To guarantee your robotic pool cleaner functions properly, start by assembling the main device and attaching all necessary power components. Connect the power supply unit securely to the cleaner, ensuring the charging port aligns properly. If your model features wireless connectivity, verify that the Wi-Fi or Bluetooth modules are properly installed and activated. Good battery management is essential—check that the battery is inserted correctly and fully charged before use. Ensure all cables are tidy and free of damage to prevent power interruptions. Once assembled, power on the device and test the wireless connection to confirm it communicates effectively with your control app. Proper connection of power components guarantees reliable operation and smooth communication, setting the stage for efficient cleaning cycles. Additionally, understanding automation technologies in devices can help optimize your cleaner’s performance and maintenance routines.
Securing Cleaning Attachments
Begin by placing the main body of your robotic pool cleaner on a flat, stable surface. To secure attachments properly, align the brushes and filters with their designated slots. Push firmly until you hear a click, ensuring they are securely attached. Securing attachments correctly is crucial for attachment safety and maximum cleaning performance. Double-check that all components are snug and locked in place before powering on the device. Loose or improperly attached parts can lead to malfunctions or damage during operation. Handle each attachment with care to avoid breakage. Once everything is secured, gently lift the cleaner and test that all attachments stay firmly in place. Proper securing of cleaning attachments guarantees safe, effective cleaning and prolongs your robotic pool cleaner’s lifespan.
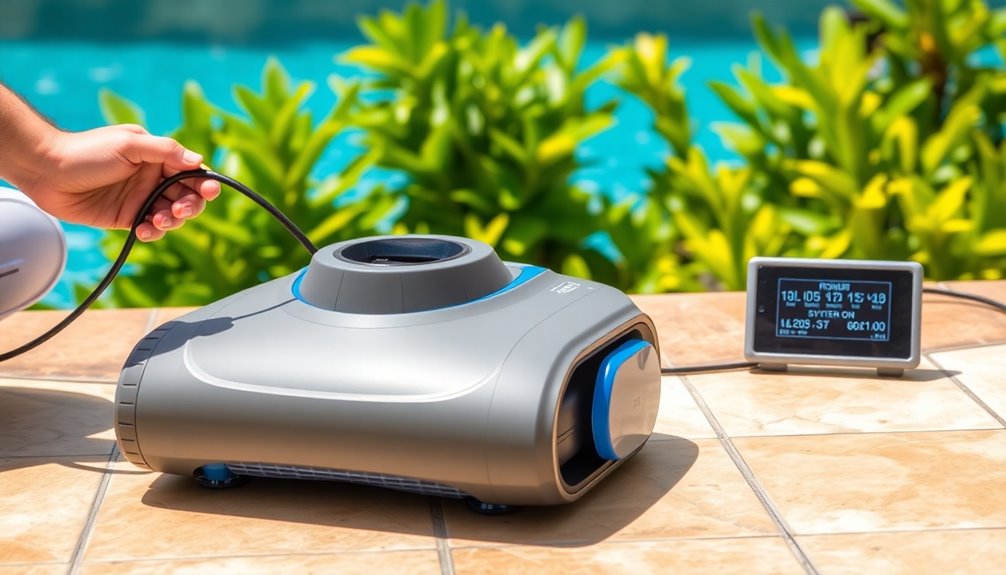
Choosing the Optimal Placement for Charging
Choosing the right spot to charge your robotic pool cleaner is essential for its efficiency and longevity. Select a shaded, dry area near the pool that’s protected from weather, ensuring it doesn’t interfere with pool safety or water chemistry. Keep the charging station away from chemicals and debris to prevent damage and maintain optimal water quality. A stable surface is crucial to avoid accidental falls or disconnections. Proper placement also involves considering necessary cookies to ensure the charging area remains secure and functional. Additionally, assessing electrical safety measures will help prevent potential hazards and ensure reliable operation of your device.
Connecting and Charging Your Pool Cleaner
To guarantee your pool cleaner charges efficiently, start by placing the charging station in a shaded, flat area close to the pool but away from obstacles. Make sure the power connection is secure and protected from water exposure. Double-check that the station’s cords are untangled and properly plugged in before connecting your cleaner. Additionally, ensure that your device’s AI integration features are functioning correctly to optimize performance. For best results, verify that your system supports security zone info features that may enhance safety during operation. Regularly monitor filter replacement indicators to maintain optimal cleaning efficiency and avoid potential malfunctions. Practicing mindful decluttering of the area around your pool can help prevent obstructions and ensure the cleaner moves freely. Being aware of home security considerations can also help you better protect your property while your pool cleaner is in use.
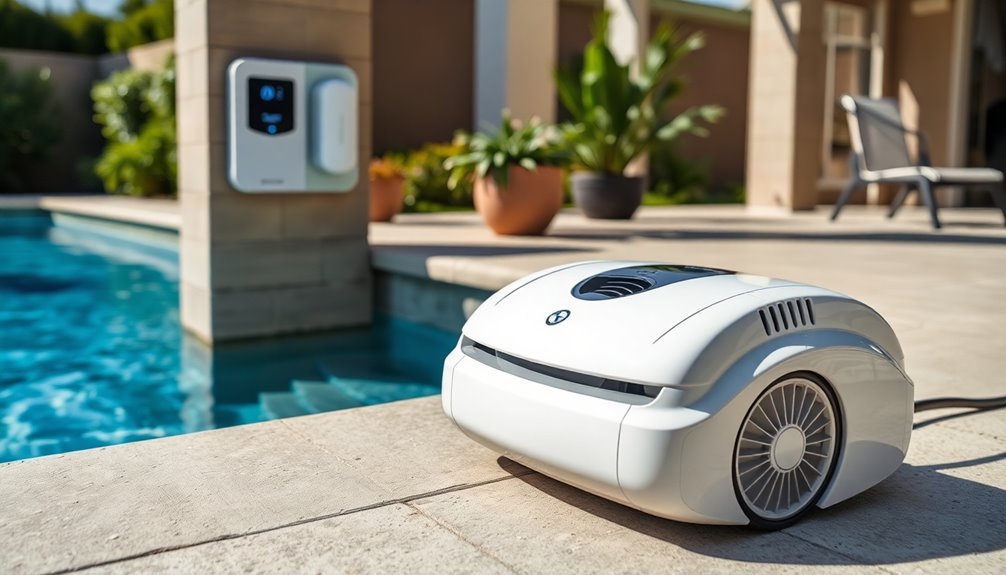
Charging Station Placement
Placing the charging station correctly is essential for your robotic pool cleaner’s efficient operation. You want it in a spot that’s accessible, dry, and sheltered from the sun and weather. Keep the station away from pool lighting that might interfere with signals, and consider proximity to a power source connected to solar power if possible. Ensure there’s enough space around the station for the robot to dock easily. Avoid placing it near debris or obstacles that could block movement. Good placement minimizes travel time and ensures consistent charging. Also, position it where the robot can easily reach the water’s surface for quick docking and undocking. Proper placement maximizes cleaning efficiency and prolongs your cleaner’s lifespan. Additionally, consider noise pollution reduction when choosing the location to prevent disturbances during operation.
Power Connection Tips
Ensuring a secure and reliable power connection is essential for your robotic pool cleaner to operate effectively. Start by choosing an appropriate power outlet placement, ideally close to your pool but away from water splash zones. Avoid using extension cords, as they can pose safety hazards; instead, connect directly to a grounded outlet. To protect your device from power surges, always use a surge protector. This extra layer of safety prevents damage from voltage spikes caused by storms or electrical issues. Before plugging in, verify that the outlet is dry and free of debris. Regularly inspect the power cord for signs of wear or damage, replacing it if necessary. Proper power connection practices ensure your cleaner runs smoothly and prolong its lifespan. Additionally, understanding power connection guidelines can help you troubleshoot common issues and maintain optimal operation. Remember, proper electrical safety practices are crucial when handling electrical devices near water to prevent accidents. Maintaining awareness of electrical safety protocols can further safeguard your equipment and household. It’s also helpful to keep a maintenance checklist to regularly review your connections and ensure everything remains in good working order. Being familiar with best practices for electrical safety can significantly reduce the risk of accidents during setup and operation.
Powering On and Initial System Checks
Before you start cleaning, it’s important to power on your robotic pool cleaner and perform basic system checks. Verify the battery is sufficiently charged to avoid interruptions, and confirm the waterproofing seals are intact to prevent water damage. Check the battery life indicator to confirm readiness, and inspect that all connections are secure. Turn on the device, listening for any unusual sounds that might indicate a problem. Confirm the power switch is functioning properly. Test the waterproofing by gently exposing the unit to water, if safe, to ensure no leaks are present. These initial checks help prevent malfunctions and extend your cleaner’s lifespan. Properly powered on and checked, your robotic pool cleaner is ready for efficient, trouble-free operation. Additionally, ensure the waterproofing seals are properly installed and undamaged to maintain the device’s waterproof integrity.
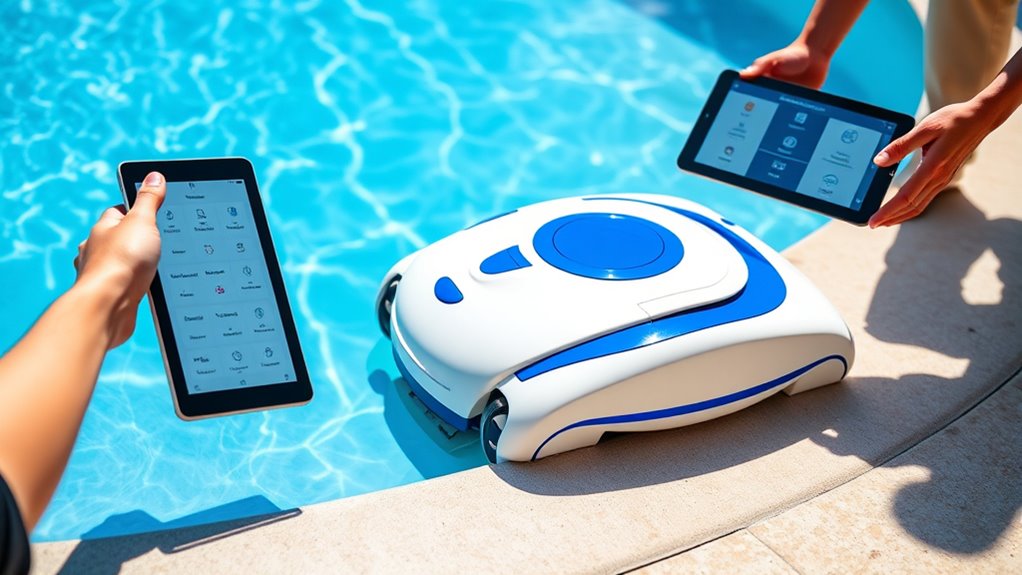
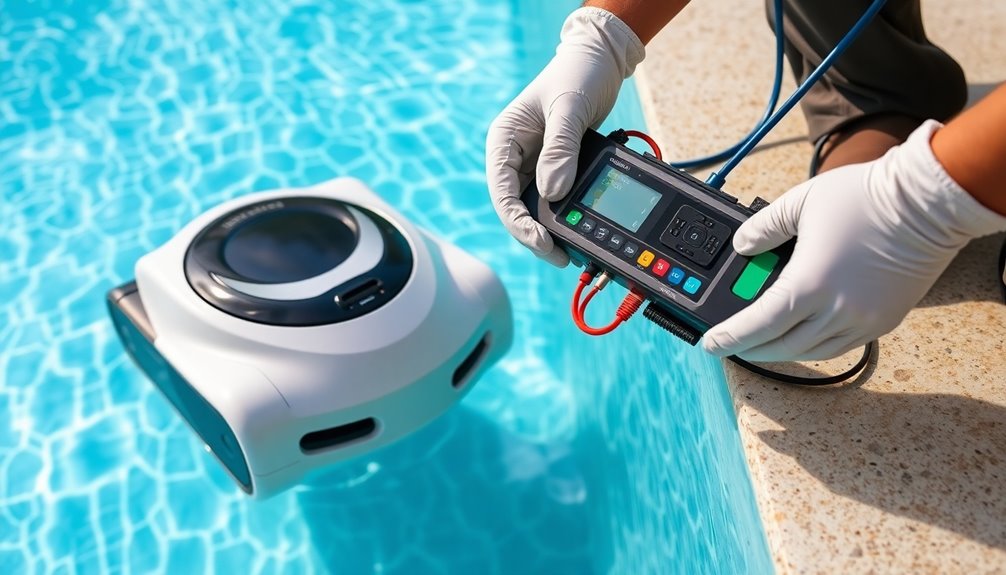
Navigating the Programming Interface
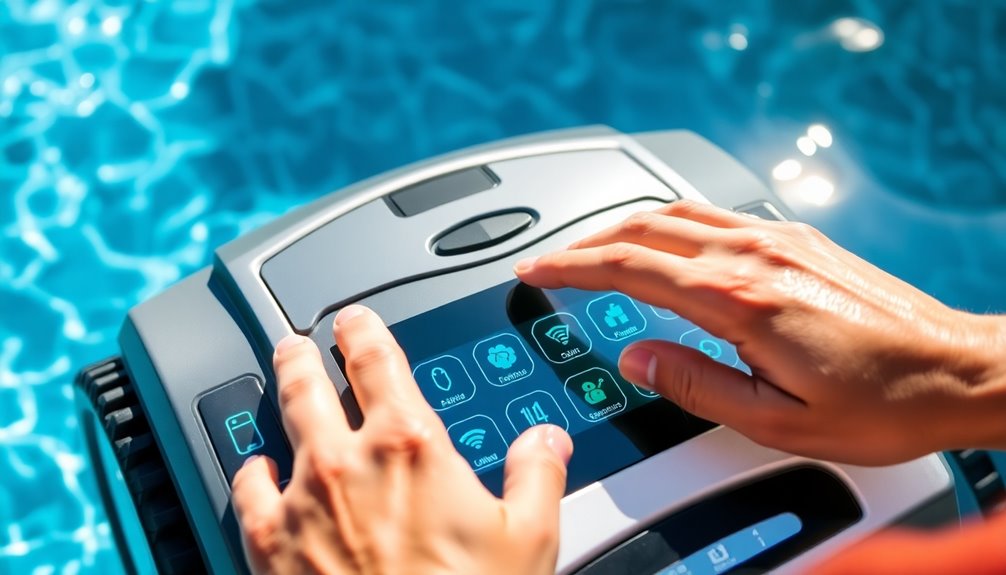
Once your robotic pool cleaner is powered on and ready, it’s time to familiarize yourself with its programming interface. This interface is your control hub, allowing you to adjust settings and monitor the cleaner’s progress. Use the orientation controls to move through menus and options. Typically, these controls include arrow buttons or touchscreens that help you select functions quickly. Take note of icons or labels that indicate specific features, like manual mode or cleaning zones. Practice navigating through each menu to understand how to access different settings. Keep the interface clean and free of debris to guarantee smooth operation. Additionally, be aware of the user rights and responsibilities associated with managing your device’s settings. Understanding how to troubleshoot common issues can save you time and ensure your cleaner operates optimally. Familiarizing yourself with the programming interface can also help you optimize the cleaning cycle for different pool conditions. Getting comfortable with the programming interface makes it easier to customize your cleaner’s performance and troubleshoot minor issues efficiently.
Setting Cleaning Cycles and Schedules
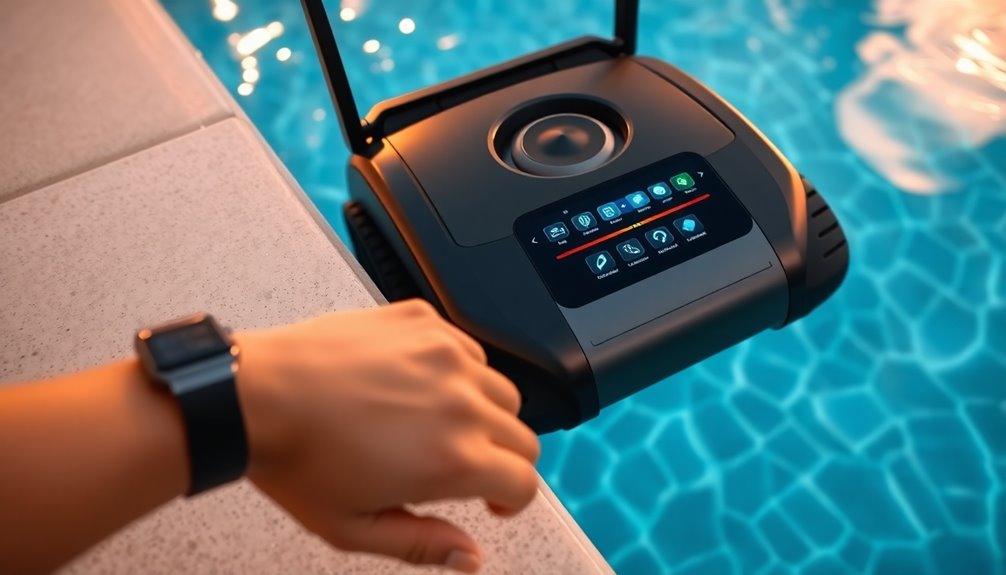
Setting cleaning cycles and schedules allows you to customize when and how your robotic pool cleaner operates, guaranteeing the pool stays spotless with minimal effort. You can select a cleaning pattern that suits your pool’s shape and debris load, whether it’s a thorough all-over clean or targeted spot cleaning. Use scheduling preferences to set the days and times you want the cleaner to run, optimizing efficiency and convenience. Adjust the cycle duration based on pool size and usage. Most models let you program daily, weekly, or specific times, giving you flexibility. Setting these parameters to ensure your pool remains clean without constant supervision. Remember, a well-defined cleaning pattern and thoughtful scheduling make maintenance simple and effective.
Troubleshooting Common Setup Issues
When you’re setting up your robotic pool cleaner, you might encounter common issues such as connectivity problems, incorrect programming, or sensor errors. If your robot isn’t moving properly, check the water filtration system to guarantee filters aren’t clogged, which can hinder performance. For connectivity issues, verify that the Wi-Fi or Bluetooth connection is stable and within range. Battery maintenance is vital; ensure the battery is fully charged and properly installed to avoid power failures during cleaning. If sensors aren’t functioning correctly, clean them gently to remove dirt or debris that could interfere with navigation. Addressing these issues promptly helps your pool cleaner operate smoothly, maintaining ideal water filtration and extending battery life. Proper setup prevents future problems and guarantees efficient cleaning.
Maintaining and Storing Your Pool Cleaner Properly
To keep your robotic pool cleaner functioning efficiently, regular maintenance and proper storage are essential. Proper chemical maintenance prevents buildup and damage, ensuring your cleaner operates smoothly. When storing, always disconnect the power and clean the unit thoroughly to remove debris and residue. Store it in a cool, dry place away from direct sunlight to avoid deterioration. Pay attention to storage safety by keeping the device out of reach of children and pets. Regularly inspect and replace worn brushes or filters to maximize performance. Additionally, check for any signs of damage before storage to prevent further issues. Proper maintenance and storage extend your cleaner’s lifespan and keep it ready for next season’s pool adventures.
Regular maintenance and proper storage ensure your robotic pool cleaner stays efficient and ready for next season.
- Clean filters and brushes after each use
- Store in a dry, shaded area
- Disconnect power before storage
- Check for damage regularly
- Keep out of reach of children
Frequently Asked Questions
How Do I Update the Firmware of My Robotic Pool Cleaner?
To update your robotic pool cleaner’s firmware, first check the manufacturer’s app or website for available Firmware updates. Usually, you’ll need to connect the cleaner to Wi-Fi or Bluetooth, then follow the instructions to download and install the updates. Firmware updates often improve cleaning performance and add new features. After updating, you can customize your cleaning routines and settings for *ideal* results, ensuring your pool cleaner works efficiently.
Can I Customize Cleaning Patterns Beyond Preset Options?
So, you want to go beyond the preset cleaning patterns and try your hand at custom cleaning or pattern modification? Why settle for boring, uniform scrubbing when you can release your inner choreographer? Most robotic pool cleaners now offer some degree of customization—think of it as choreographing a dance for your robot. Immerse yourself, experiment, and make your pool cleaning as unique as your playlist.
What Safety Precautions Should I Follow During Setup?
During setup, prioritize pool safety by keeping the area clear of obstacles and ensuring children and pets stay away. Always check that the robotic pool cleaner is properly plugged into a grounded electrical outlet to prevent electrical hazards. Follow the manufacturer’s instructions carefully, and avoid handling the device with wet hands. Proper electrical grounding is essential for safe operation, reducing the risk of shocks or electrical issues during setup and use.
How Do I Troubleshoot Connectivity Issues With the App?
If you’re facing connectivity issues with the app, start by checking for Wi-Fi interference from other devices or electronics near your router. Confirm your smartphone’s OS is compatible with the app, verifying app compatibility. Restart your router and reconnect your device. Update the app if a newer version is available, and keep your pool cleaner’s firmware current. If problems persist, reset the device and try reinstalling the app.
Is It Safe to Leave the Cleaner Charging Unattended?
It’s generally safe to leave your robotic pool cleaner charging unattended, but you should follow battery safety and charging tips. Make sure the charger is in good condition, placed on a flat, dry surface, and keep it away from water or flammable materials. Avoid overcharging by unplugging once the battery is full. Following these precautions helps guarantee safe operation and extends your cleaner’s battery life.
Conclusion
Getting your robotic pool cleaner set up right ensures sparkling clean pools all season. Did you know that robotic cleaners can reduce overall pool maintenance time by up to 60%? By following these simple steps, you’ll maximize efficiency and keep your pool pristine with less effort. Regular maintenance and proper storage extend your device’s lifespan, saving you money in the long run. Enjoy worry-free swimming season with your perfectly programmed, well-maintained robotic cleaner!