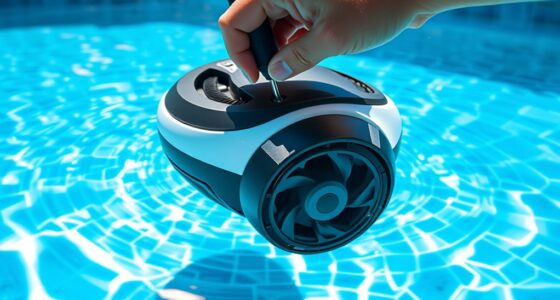

To install a suction pool cleaner, start by gathering your tools like hoses, fittings, and a skimmer connection. Follow the manufacturer’s instructions to attach the hose securely and prime it with water to remove air bubbles. Position the cleaner in an open area of your pool, ensuring no obstructions, then turn on your pump and check for smooth movement. For detailed steps and tips, keep exploring the process for a smooth setup.
Key Takeaways
- Gather and organize all tools, hoses, and equipment, ensuring compatibility with your pool size.
- Read and follow the manufacturer’s instructions for installation, operation, and troubleshooting.
- Prepare the pool by balancing water chemistry, checking water level, and clearing debris for optimal setup.
- Attach the hose securely to the cleaner and pool suction port, then prime the hose with water to remove air bubbles.
- Position the cleaner in an open, obstacle-free area, then test its movement to ensure smooth operation and coverage.

Poolmaster Manual Pool Vacuum Hose, 30 Ft x 1-1/2” for Inground & Above Ground Pools, Not for Automatic Cleaners, Kink-Free, Heavy Duty Pool Cleaner Hose with Swivel Cuff – Made in USA
For Manual Pool Cleaning Only – This swimming pool vacuum hose is designed for use with a manual…
As an affiliate, we earn on qualifying purchases.
As an affiliate, we earn on qualifying purchases.
Gather Necessary Tools and Equipment
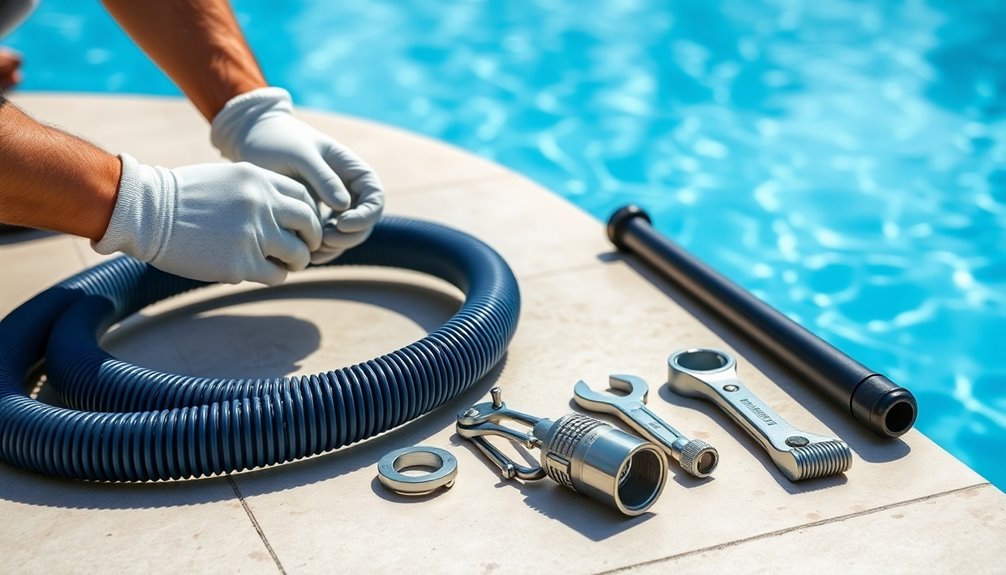
Before you begin installing your suction pool cleaner, it is vital to gather all the necessary tools and equipment. Proper pool maintenance starts with having the right cleaning accessories on hand. You’ll need a telescopic pole to maneuver the cleaner, a garden hose for priming, and possibly an attachment for your skimmer basket. Make sure you have replacement hoses or parts in case repairs are needed later. Check that the hoses and fittings are compatible with your pool’s size and equipment. Having these tools ready streamlines the installation process and prevents delays. Keep a clean towel nearby for wiping down surfaces. Gathering everything beforehand helps you stay organized, making the setup smoother and ensuring your pool maintenance routine remains efficient. Additionally, understanding the types of projectors suitable for different settings can aid in choosing the best equipment for a home theater setup.
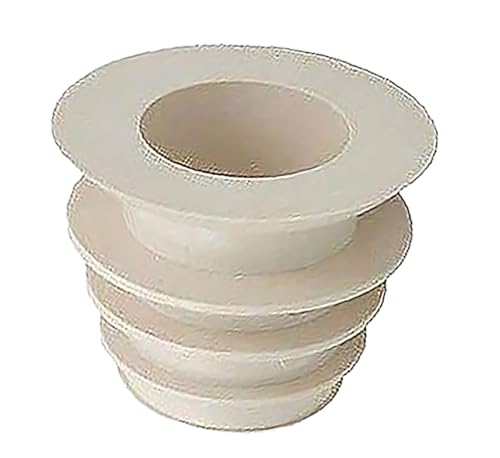
ATIE In-ground Pool Skimmer Cone Adapter Valve Cuff Compatible with Zodiac Baracuda Valve Cuff W70263, R0527600, W63900 to Connect Automatic Pool Cleaner or Vacuum Hose to Skimmer (1 Pack)
***Buyers BEWARE: This cone adapter ONLY fits 2" suction port of pool skimmer. It DOES NOT fit 1.5"…
As an affiliate, we earn on qualifying purchases.
As an affiliate, we earn on qualifying purchases.
Read the Manufacturer’s Instructions
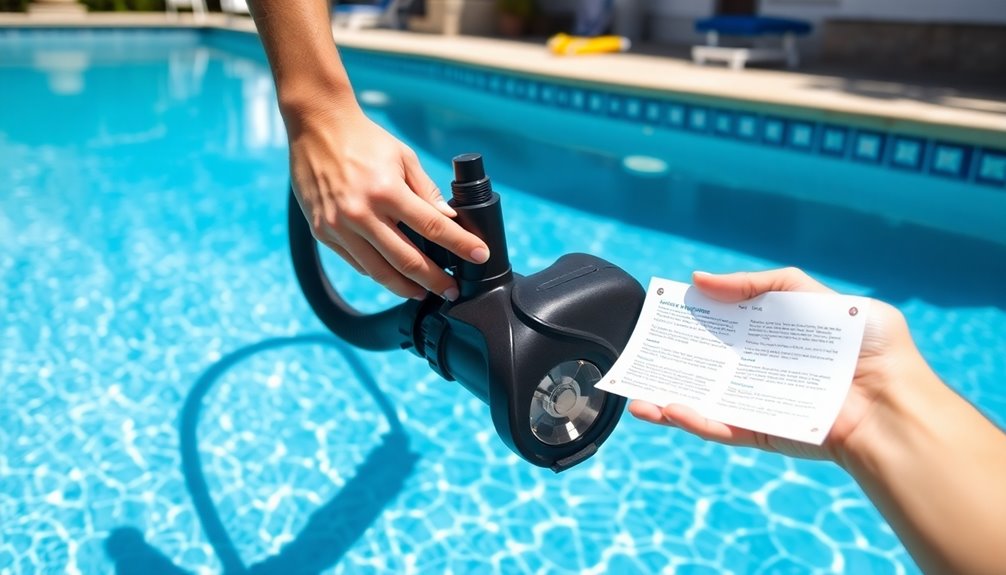
Once you’ve gathered your tools and equipment, it’s time to consult the manufacturer’s instructions. This step guarantees you follow proper procedures and avoid mistakes. Carefully read through the manual to understand installation, operation, and maintenance tips. Pay close attention to troubleshooting steps for common issues like poor suction or leaks. Use the table below to organize key points:
| Step | Maintenance Tips | Troubleshooting Steps |
|---|---|---|
| 1 | Clean filters regularly | Check hoses for blockages |
| 2 | Inspect seals and connections | Ensure proper assembly |
| 3 | Store in a dry, safe place | Replace worn parts if needed |
| 4 | Follow recommended schedules | Consult manufacturer for complex issues |
Additionally, reviewing the home decor principles can help you organize your storage space effectively. Understanding the essential oils that support maintenance routines can also contribute to the cleaner’s longevity, such as using antimicrobial oils for cleaning components.
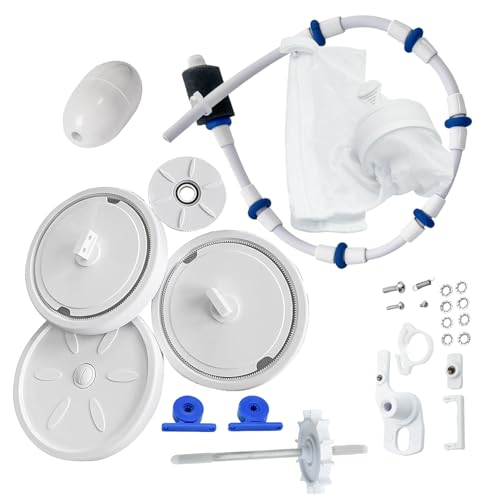
Virellionixis Upgraded Rebuild Repair Parts Kit Replacement for Polaris Zodiac Automatic Swimming Pool Cleaner 280 Bag Accessories (Not Compatible with Polaris 360 380)
Compatible with models Polaris Zodiac 280 totally (full compatibility) and Zodiac 180 (Fully compatible except the collection bag…
As an affiliate, we earn on qualifying purchases.
As an affiliate, we earn on qualifying purchases.
Prepare Your Pool for Installation
To guarantee your suction pool cleaner works effectively, you need to prepare your pool properly. Start by balancing your pool chemistry; ensure pH, alkalinity, and chlorine levels are within the recommended ranges. Proper chemistry prevents algae growth and keeps the water clean. Next, check water circulation; run your pump to ensure the water flows smoothly through the filter system. Clear any debris or obstacles that could block the flow or interfere with the cleaner’s movement. Verify that the water level is adequate—usually at least halfway up the skimmer opening—to allow proper suction. Additionally, self watering plant pots utilize a reservoir system that allows plants to absorb water as needed, which can be an analogy for ensuring your pool’s water levels are maintained properly. Monitoring water quality regularly can also help you identify issues early and ensure optimal operation. Ensuring consistent mindfulness practices can also help you stay attentive to your pool’s condition and maintenance needs. This consideration is important if your pool installation is part of a property settlement, as they can impact ownership rights and responsibilities. By optimizing pool chemistry and water circulation, you set the stage for efficient cleaning and prevent potential issues during operation.
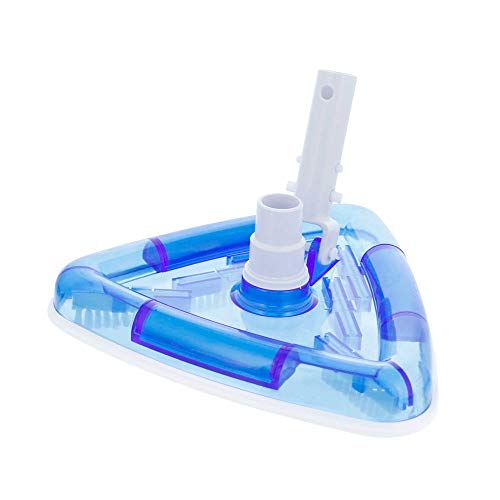
U.S. Pool Supply Weighted Transparent Triangular Pool Vacuum Head with Swivel Hose Connection and EZ Clip Handle – Connect 1-1/4" or 1-1/2" Hose – Removes Debris, Clean Corners – Safe for Vinyl Pools
Swivel head connection accepts 1-1/4" and 1-1/2" hose
As an affiliate, we earn on qualifying purchases.
As an affiliate, we earn on qualifying purchases.
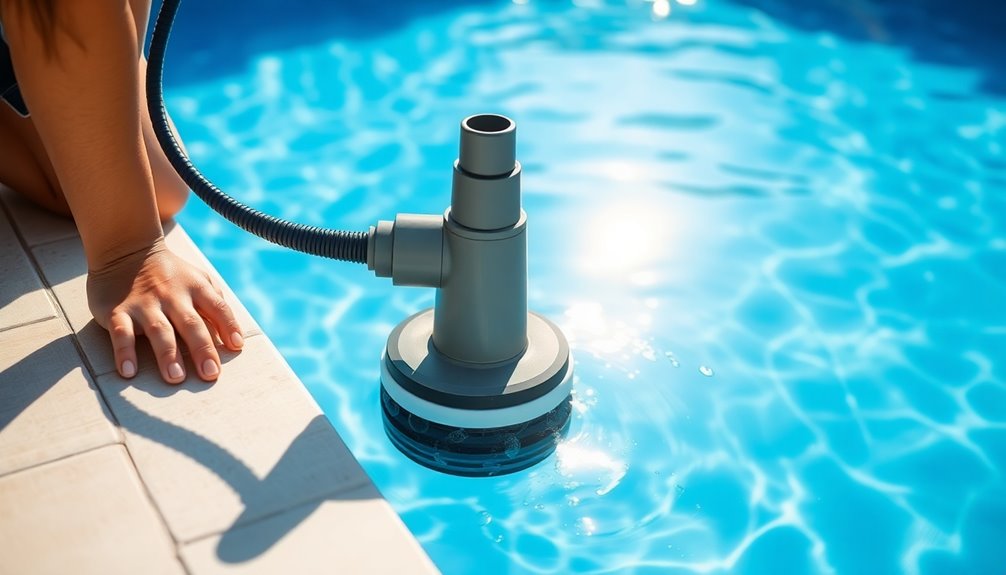
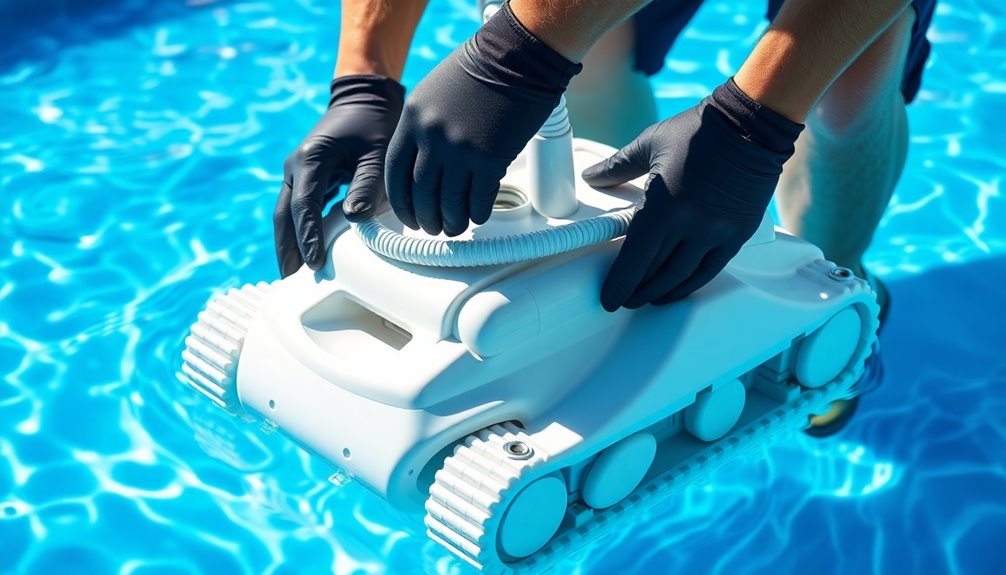
Attach the Hose to the Cleaner
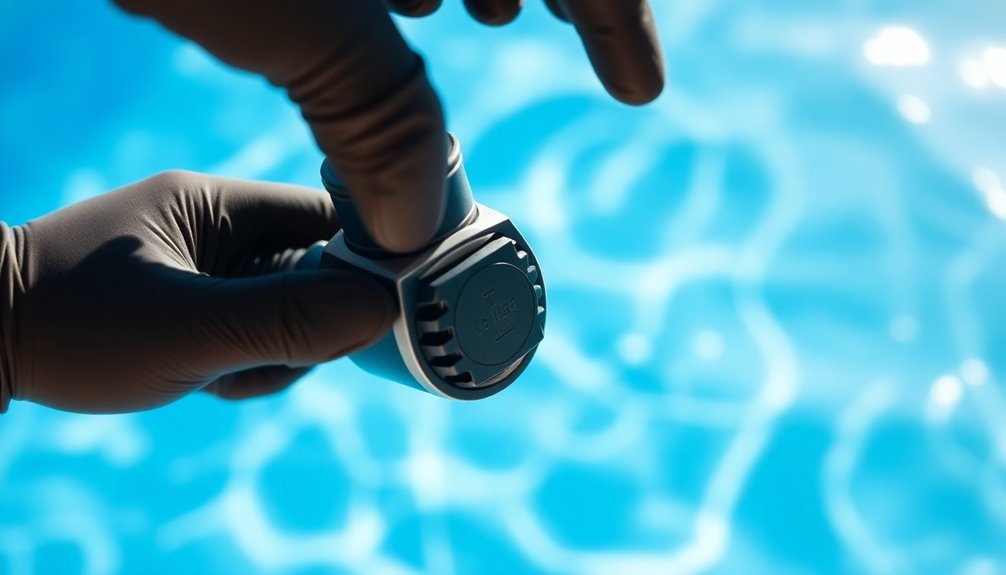
Attach the hose to the cleaner by first aligning the hose fitting with the cleaner’s inlet port. Ensure a snug fit to prevent leaks and maintain connection stability. To do this smoothly:
- Line up the hose fitting with the cleaner’s inlet port carefully.
- Push the hose onto the inlet until it clicks into place.
- Twist slightly if needed to secure the connection firmly.
- Check that the hose is firmly attached and doesn’t wobble.
- Confirm that the connection is properly secured to maintain consistent suction during cleaning.
This process guarantees a secure hose attachment, which is crucial for maximum suction and cleaner performance. Proper connection stability prevents water leaks and ensures your cleaner functions efficiently. Take your time to confirm the hose is securely attached before moving on to the next step.
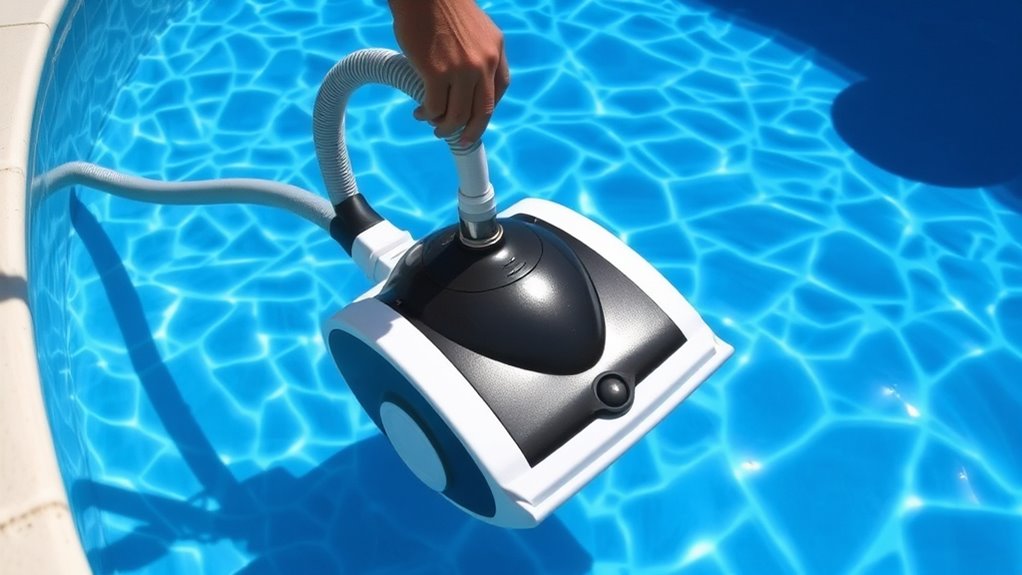
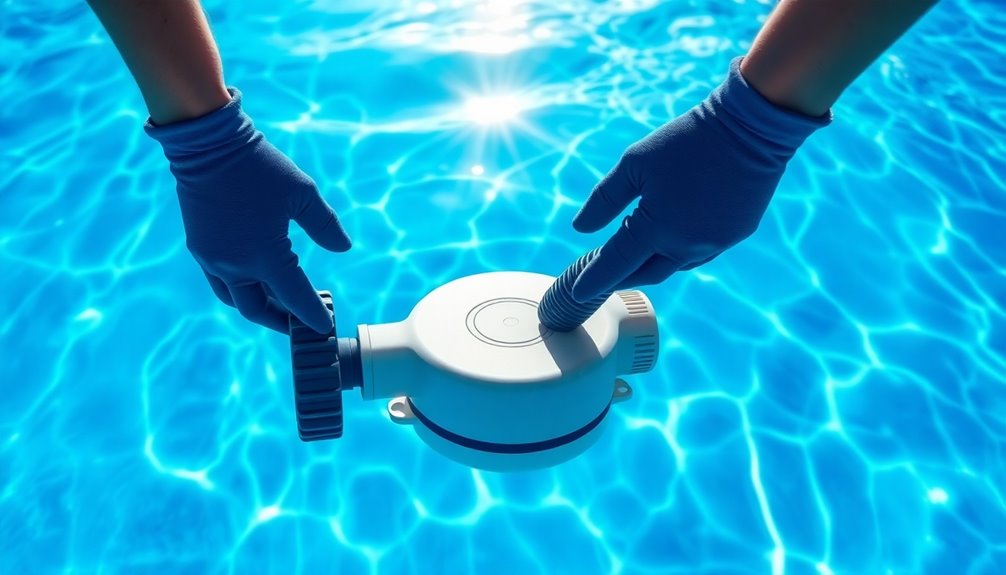
Connect the Hose to the Skimmer or Suction Port

After securing the hose to the cleaner, you need to connect it to the skimmer or suction port on your pool. For the hose connection, make certain the skimmer attachment fits snugly to prevent leaks and maintain proper suction. If your pool has a dedicated suction port, attach the hose directly there, making sure the connection is tight. When connecting to the skimmer, remove the skimmer basket if necessary to accommodate the hose fitting, then secure the hose to the skimmer attachment. Check that the hose is straight and free of kinks, which could disrupt water flow. Proper hose connection is vital for efficient cleaning and to avoid air leaks that can impair the cleaner’s performance. Ensuring a secure connection also helps maintain adequate water flow, which is crucial for the suction pool cleaner to operate effectively. Additionally, using reliable suction fittings can prevent disconnections during operation and ensure consistent cleaning performance. Being mindful of hydrocolloid technology and its role in effective blemish treatment can be analogous to ensuring all pool connections are secure for optimal cleaning results. Regularly inspecting the fittings for wear and tear can further enhance cleaning efficiency and prolong the lifespan of your equipment.
Prime the Hose to Remove Air Bubbles
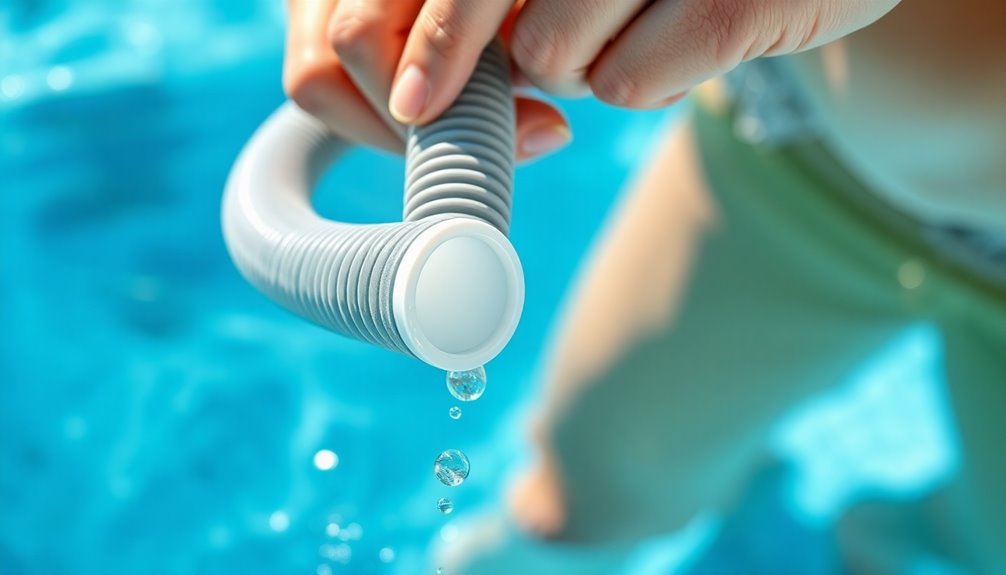
Wondering how to guarantee your suction pool cleaner works effectively? The key is to properly prime the hose to remove air bubbles. Air bubbles can reduce suction and hinder cleaning performance. To do hose priming successfully:
- Fill the hose with water at a faucet or using a garden hose.
- Submerge the hose in the pool to eliminate remaining air pockets.
- Connect the hose to the skimmer or suction port firmly.
- Turn on the pool pump and watch for steady water flow, ensuring air bubbles are gone.
- Utilizing knowledge of AI in Business, integrating smart monitoring systems can help detect and alert you to any suction issues promptly. This proactive approach can prevent performance problems and extend the life of your cleaner. Additionally, regularly inspecting hoses for leaks can maintain optimal suction efficiency. Examining the compatibility of your pool cleaner with your equipment can also prevent operational issues. It is also helpful to consult manufacturer guidelines for specific priming techniques tailored to your pool cleaner model.
This process helps eliminate air bubbles that can block suction. Proper hose priming ensures your cleaner can operate efficiently, keeping your pool sparkling without interruptions.
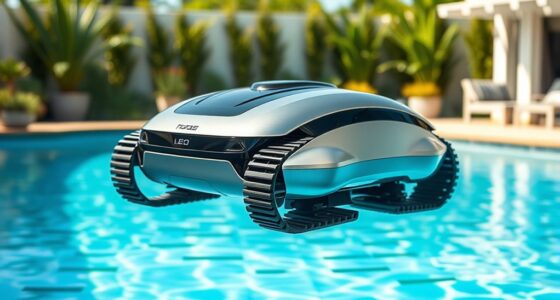
Position the Cleaner in the Pool
Start by choosing the best spot in your pool where the cleaner can cover most areas efficiently. Make certain there are no obstructions like steps or toys that could block its movement. Then, test the cleaner’s range to ensure it moves smoothly without getting stuck.
Find Optimal Spot
Positioning your suction pool cleaner in the right spot guarantees it covers the entire pool efficiently. To find the ideal spot, consider these steps:
- Place the cleaner near areas with the most debris accumulation on the pool surface.
- Position it away from steps and shallow areas to prevent getting stuck.
- Avoid placing it directly in front of returns to allow better circulation.
- Start in a corner or along the wall to help it navigate the pool more effectively.
Avoid Obstructions
To guarantee your suction pool cleaner operates effectively, you need to avoid placing it near obstacles that could hinder its movement. Obstruction hazards like pool toys, floating debris, or steps can cause the cleaner to get stuck or miss areas. Be mindful of pipe blockages or tight corners that restrict its path. Position the cleaner in open water, away from ladders or ledges, to ensure smooth navigation. Clear the pool of large objects before installation, and check for any potential obstructions that might interfere with its operation. Properly positioning the cleaner in a spacious, obstacle-free zone helps it work efficiently and reduces the risk of it becoming stuck or damaged during cleaning. Additionally, understanding the regional resources available can help you select the best equipment and ensure proper maintenance for optimal performance. Recognizing the plant properties of your cleaning tools can also enhance their effectiveness and lifespan.
Test Movement Range
Have you tested the cleaner’s movement after placing it in the pool? This step guarantees proper testing maneuverability and obstacle navigation. To do this effectively, follow these steps:
- Observe if the cleaner moves smoothly across different pool areas without hesitation.
- Check if it can navigate around corners and tight spots without getting stuck.
- Gently introduce small obstacles like pool toys or steps to see if it can avoid or maneuver around them.
- Watch for uneven coverage, adjusting the cleaner’s position if needed to optimize its movement range.
- Ensure the filter system is functioning correctly to maintain optimal air and debris removal during operation.
- Confirm that the navigation system is properly calibrated to enhance obstacle detection and route planning.
- Remember that regular testing and adjustments can improve your overall cleaning efficiency.
- Additionally, inspecting the movement range periodically can help identify areas where the cleaner may need recalibration or maintenance.
Turn on the Pool Pump and Check Operation

Before turning on your pool pump, make sure all valves are properly set and the cleaner’s hoses are securely attached. Once everything is in place, turn on the pump and observe the cleaner’s operation. Check for smooth movement and ensure the hoses are not tangled. As the pool begins circulating, verify that the filter is functioning correctly—clean filters improve suction and overall performance. Also, confirm that chemical balancing is appropriate to prevent cloudiness or algae growth, which can hinder cleaning efficiency. Listen for unusual noises or leaks that might indicate a problem. Proper filter maintenance and balanced chemicals help your suction cleaner work effectively, prolong its lifespan, and keep your pool clean. Additionally, ensure that the noise levels of your pool equipment are within acceptable limits to prevent disturbance. Once confirmed, you can proceed to fine-tune the cleaner’s movement if needed.
Adjust and Fine-Tune the Cleaner’s Movement
Once your pool cleaner is operating, you may need to adjust and fine-tune its movement to guarantee thorough coverage of the pool surface. Proper sensor calibration ensures the cleaner detects walls and obstacles accurately, preventing missed spots. To optimize the movement pattern:
- Check the sensor calibration and recalibrate if it’s misreading.
- Observe the cleaner’s path for uneven coverage or sticking points.
- Adjust the weight or steering fins to improve navigation.
- Test the movement pattern after each change to confirm better coverage.
Fine-tuning may involve repositioning the hose or adjusting the cleaner’s angle. Small tweaks can dramatically enhance cleaning efficiency, ensuring your pool gets spotless without missing any areas.
Frequently Asked Questions
How Often Should I Inspect the Cleaner for Wear and Tear?
You should perform a wear assessment and follow a regular maintenance schedule for your suction pool cleaner. Inspect it at least once a month for signs of wear, such as cracked hoses or damaged brushes. If you notice any issues, address them promptly to guarantee peak performance. Regular inspections help prevent breakdowns, extend the cleaner’s lifespan, and keep your pool clean and ready for use.
Can I Use a Suction Pool Cleaner in a Saltwater Pool?
You can definitely use a suction pool cleaner in a saltwater pool. For example, Sarah did, and she noted that proper pool chemistry and regular cleaner maintenance kept her cleaner working smoothly. Saltwater can cause corrosion over time, so inspect the cleaner frequently and rinse it after use. Using compatible parts and maintaining the right balance of chemicals helps prolong your cleaner’s lifespan and guarantees it functions effectively.
What Should I Do if the Cleaner Gets Stuck on the Pool Steps?
If your suction pool cleaner gets stuck on the pool steps, first turn off the cleaner. Check for pool debris or algae buildup that might cause a step obstruction. Clear away any debris around the steps and make certain the cleaner’s hose isn’t tangled. You can also manually move the cleaner off the steps, then restart it to see if it operates smoothly. Regular cleaning prevents future issues with step obstruction.
Is It Necessary to Remove the Cleaner After Each Use?
You don’t need to remove your suction pool cleaner after each use, but proper storage maintenance is important. After cleaning, rinse it thoroughly and let it dry before storing in a cool, dry place. This helps prevent damage and mold. Follow a regular cleaning schedule to keep it in top shape. Removing it periodically also allows you to inspect for wear and tear, ensuring peak performance and extending its lifespan.
How Do I Troubleshoot if the Cleaner Isn’T Moving Properly?
When troubleshooting your suction pool cleaner’s movement, start by checking for common issues. Inspect the hoses for blockages or leaks, ensuring water flows freely. Verify the cleaner’s brushes and wheels for debris or wear. Examine the motor for electrical problems, and test the cleaner’s navigation by observing its path. Adjust the float or reposition the hoses if navigation problems persist. Addressing these areas helps resolve motor issues and improves overall performance.
Conclusion
Once you’ve installed your suction pool cleaner, it’s like setting a diligent helper in motion—ready to keep your pool sparkling. Regularly check its operation and make adjustments as needed, ensuring it moves smoothly like a well-choreographed dance. With proper setup and maintenance, your cleaner will work tirelessly, saving you time and effort. Think of it as a loyal assistant that transforms pool cleaning from a chore into a simple, effortless task.